
What virtual production stage specs actually affect shoot-day quality?
Specs only matter if they prevent image artefacts and workflow issues. A stage might have an impressive brochure, but if it can’t support clean footage and stable operations during a real shoot, those specs are meaningless. You need a setup that holds colour, depth and timing without introducing artefacts.
The difference between “spec sheet nice” and “shoot-day useful”
Brochures tell you what’s installed. They rarely show what goes wrong. Moiré, flicker, sync errors are what will ruin a shot. Specs may be true, but they’re incomplete.
When you're evaluating a VP stage, such as Studio 2's production space, don’t look at the numbers. Look at your shot list. Ask: will this wall hold up when you light it, lens it and roll on it?
What makes a stage shoot-ready?
- No moiré, banding or seams
- Colour stability across takes
- Parallax that holds under movement
- Lighting and reflections that behave naturally
Specs without context mislead
High refresh rates are only part of the story. Tight pitch can still produce moiré. Sync, brightness, processing and calibration all matter. Only the full system tells the truth.

Pixel pitch and camera distance: where moiré actually comes from
Pixel pitch is the space between LEDs. It defines resolution, but it doesn’t guarantee a clean image. Moiré is the result of pitch interacting with your lens, distance and subject.
Moiré isn’t just a wall problem
This interaction depends entirely on how the camera sees the pixel grid of the wall. If your actor is too close or the lens pulls too much texture, the pitch becomes visible. Fine details crawl. Patterns shimmer. This is where shots fall apart.
What helps?
Think in threes: pitch, distance and focal length. The closer your subject, the more critical this triangle becomes. Test it. Bring fabric. Block close. Make sure to test it under conditions that match your actual scene and lensing choices.
Refresh rate, scan rate and PWM: the real causes of flicker and banding
Flicker isn’t just about refresh rate. The scan rate and dimming method are usually to blame. Especially when shooting at low light or with off-speed cameras.
Break it down
- Refresh rate = how often the wall updates
- Scan rate = how many rows update at once
- PWM = how brightness is controlled via pulses
Any mismatch here shows up as banding, flicker or blocks. Especially on dark backgrounds.
Ask for validated settings
Every studio should have a tested combination of frame rate, shutter and brightness. If they don’t, you’ll be testing blind. Ask for examples. Bring your camera. Run your exposure.
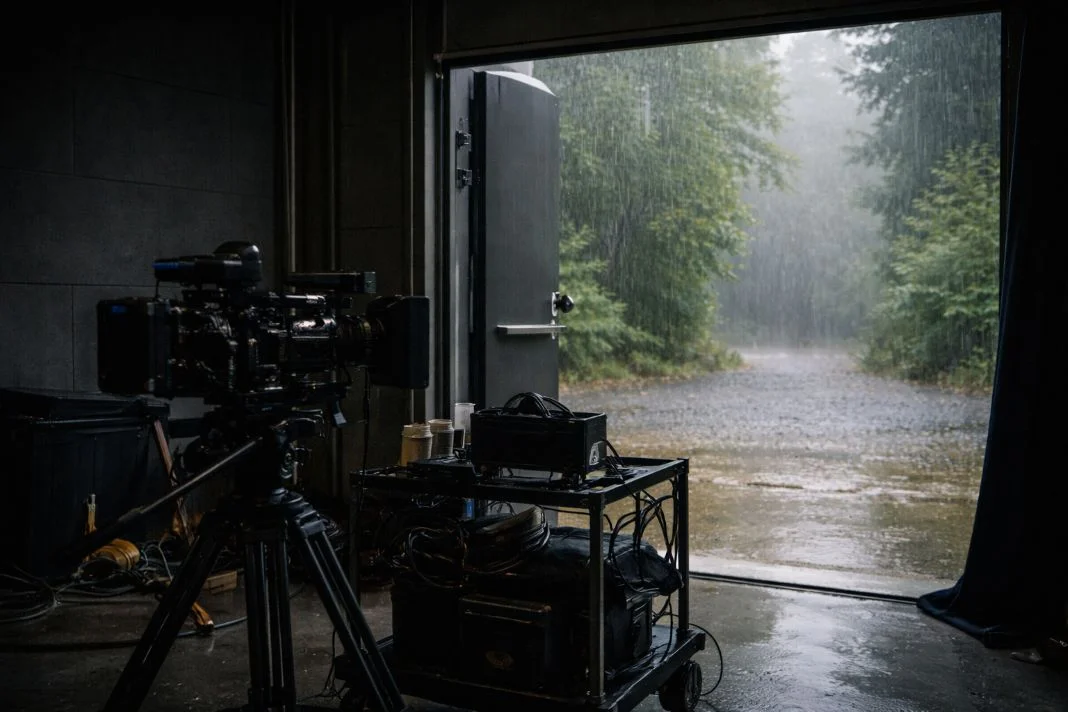
An illustrative image of a film camera on tripod in a dim studio facing a rainy forest scene through an open door. The mood is moody and atmospheric.
Bit depth, calibration and colour pipeline: stopping colour drift and banding
Colour breaks when the pipeline fails. That includes bit depth, LUTs, transforms, and panel calibration. Banding shows up when smooth tones are compressed, stepped or clipped.
Don’t just ask what bit depth they support
Confirm whether consistent bit depth is preserved from content creation through to LED wall output. 10-bit input won’t save you if the processor truncates it. Skies and skin show errors first.
Colour needs ongoing control
Panels drift. Calibration drifts. Without a routine and a way to share results (LUTs, reports, cal files), you’re left guessing.
Brightness, contrast and coatings: why ‘pure blacks’ aren’t just marketing
Specs often list high peak brightness. But most scenes run far below that. What matters is how the wall behaves at real-world levels.
What goes wrong?
When brightness drops too low, the black levels often lift, making shadows look grey. Colours shift. Reflections flatten. You lose depth and realism. A 1500-nit panel is useless if it breaks down at 300.
Check both ends
Ask to see a bright car exterior and a dark drama scene. Use chrome, black fabric, glass. Watch what reflects. If the wall goes grey, you’ll feel it immediately.
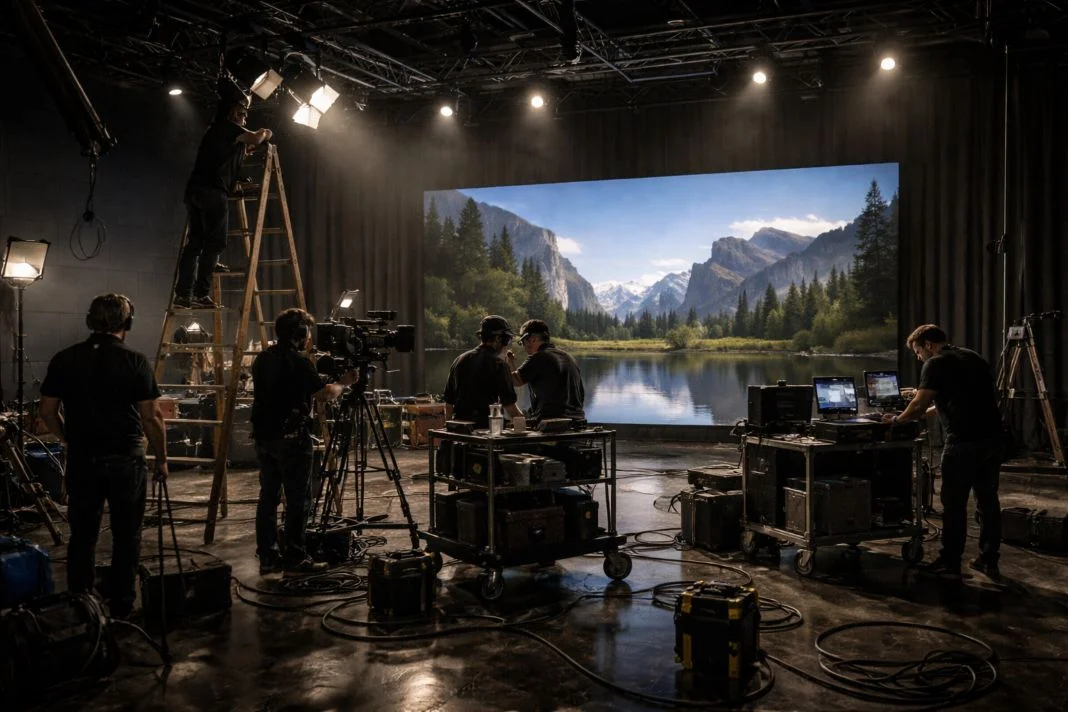
An illustrative image of a film crew works in a studio with a mountain and lake backdrop. Cameras, ladders, and lighting equipment surround them. The mood is focused.
Viewing angle and panel uniformity: keeping colour stable off-axis
If colour shifts when the camera moves, the illusion breaks. Wide lenses, dolly shots, and blocking flexibility all depend on stability off-centre.
Watch for shift
Walk laterally while looking through camera. Dolly side to side. Look at skin and neutrals. If you see warmth cool or brightness fall, that’s a wall you can’t trust for wide shots.
Uniformity shows up under pressure
Use soft light. Roll on wide coverage. Watch for seams, patchwork brightness or inconsistent tone. These issues often go unnoticed until the camera moves or light levels shift. They always show up in motion.
Latency and sync: genlock, timecode, and why frames must agree
Virtual production only works when everything stays in time. Camera, tracking, render, LED. Any drift introduces mismatch.
Genlock and timecode are not the same
Genlock aligns real-time signal. Timecode timestamps frames. One keeps you in sync. The other helps you find your frame later. You need both.
Spot it fast
Use whip pans or handheld movement. Check parallax under fast motion. If the background swims, sync is off. And that means every shot is compromised.
Tracking and lens data: the specs that decide whether parallax feels real
Tracking can be accurate and still feel wrong. Without lens calibration, metadata and discipline, the background doesn’t hold. Parallax collapses.
What fails first?
Lenses get swapped. Focus shifts. Marker occlusion happens. If calibration isn’t repeatable and live, the solve drifts. It may still “track” but it won’t look right.
Run real tests
Bring your lens package. Do a parallax check with foreground markers. Move in arcs. Look for slide, swim, or lag. If the world feels sticky or offset, you’ve found the fault.
Processing, playback and I/O: render nodes, SDI routing and monitoring
The LED wall is the final output layer in a much deeper technical system. What feeds it matters more. If the render chain can’t keep up, your wall breaks under load. And that includes routing, sync and monitoring.
Stress it with real scenes
See if frame pacing holds. Watch reference monitors for latency or desync. Ask what happens if a node drops out mid-take.
Don’t accept theory
Ask to see a signal path. Confirm SDI alignment, genlock injection, colour monitoring points. If they can’t show you, they probably haven’t tested it.
Stage infrastructure that affects image quality: blackout, rigging, power, HVAC
Perfect LEDs can’t fix a bad room. Light leaks, power issues and poor rigging limit your control before you light the first shot.
Walk the space like you’re shooting
Check drape seals. Look at HVAC ducts. Count distro points. Ask what beam loading the grid supports. If you can’t hang what you need or black the room properly, it isn’t ready.

An illustrative image of a close-up of a colorful LED screen displaying a grid of red, blue, and white lights. The vibrant colours create an abstract pattern.
Connectivity and data reliability: network design for modern VP days
Every workflow in VP depends on clean data. Tracking, sync, playback, uploads, live stream. One bad router introduces lag, failure or desync.
Design first, bandwidth second
Ask how many VLANs exist. What’s isolated? What’s redundant? Who monitors switch traffic during takes? If you hear “we’ve never had a problem,” dig deeper.
File movement matters
Unreal scenes, HDRIs, texture plates must ingest fast. If the storage is remote, who owns upload? Where is your backup? Is there a support contact responsible for handling delays or corrupted uploads?
Tech scout tests + questions: how to validate a stage before you book
This is the check that protects your shoot from what brands get wrong when choosing a virtual production stage. You’re not being difficult. You’re being smart.
Test shots to run
- Perform a shutter sweep at your intended frame rate and shutter angle
- Place wardrobe close to the LED wall to test for moiré
- Record a gradient sweep with natural skin tones at varied exposure levels
- Move off-axis to test for seam visibility and colour uniformity
- Execute a whip pan to reveal latency or sync issues
- Perform a parallax tracking move with a fixed foreground object
Questions that reveal quality
- Who manages and distributes genlock and timecode across the system?
- What is the documented procedure if tracking or a render node fails mid-shot?
- When was the LED wall last calibrated and how is that process logged?
- What are the hardware specifications of the render cluster and how is it load balanced?
- Can you provide test footage that validates previous scene complexity with similar camera setups?
Think like you’re already shooting
Don’t take answers at face value. Bring your kit. Shoot your tests. Walk away if they can’t explain the sync chain, dimming behaviour or colour path. Clean virtual production depends on proof, not promises.


